How To Install The Plugin
“How To Install The Plugin” Documentation by “WP Plugin Experts”How To Install The Plugin
There are two ways to install your plugin. The first and easiest method is to uploading a WordPress plugin from wp-admin area. The second is manually installing a WordPress plugin using FTP.
For that first you need to manually download the new plugin package from your Codecanyon account. Once you have the new plugin package, you can choose to upload the plugin via WordPress or via FTP. Please see the information below for how to download new files, and install it via WP or via FTP.
How To Download New Plugin Files From Codecanyon
Step 1 - Log into your Codecanyon account and navigate to your downloads tab. Find your Purchased Item Name.
Step 2 - Click the "Download" button next to it and choose to download the "Installable WordPress file only" which is just the WordPress file, or choose the "Main Files" which is the entire package that contains everything.
Step 3 - Then you need to decide if you want to install via FTP or via WordPress. Directions for both methods are below.

Method 1: WordPress Install Method
Step 1 - Retrieve the "social-auto-poster.zip" file from your new Codecanyon download. If you downloaded the "Main Files" from Codecanyon, then you need to unzip the archive file you received, the social-auto-poster.zip will be inside of it.
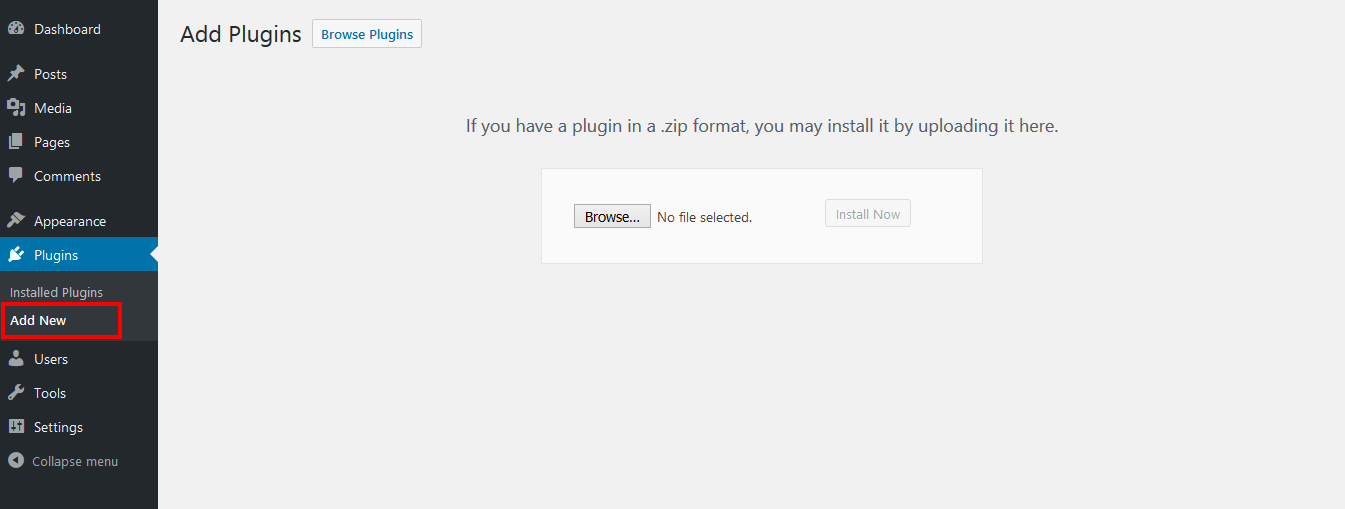
Step 2 - Then simply upload the "social-auto-poster.zip" file in the "Plugins > Add New" section. Click on the "Upload Plugin" tab at the top and choose to upload the zip file.
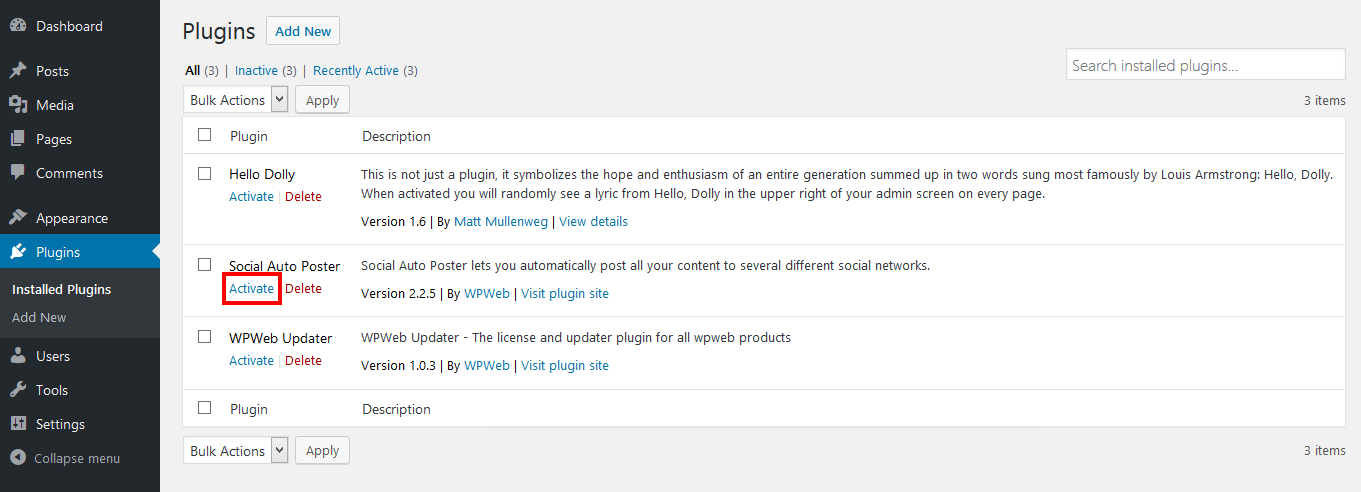
Step 3 - Once it uploads, choose to activate the plugin.
Method 2: FTP Install Method
Step 1 - Go to "wp-content > plugins" location.
Step 2 - Retrieve the "social-auto-poster.zip" file from your new Codecanyon download and extract the file to get the "social auto poster" plugin folder.
Step 3 - Then simply drag and drop the new "social-auto-poster" plugin folder into "wp-content > plugins" location.